Tutorials & Guides
How to Get Started with Framer: Complete Beginner's Guide 2026

What is Framer?
Framer is a no-code web design and development tool that lets you build real websites visually. If you’ve ever used Figma, the experience will feel instantly familiar: you design on a freeform canvas, drag elements, tweak layouts, and create smooth animations. The big difference is that what you build isn't just a static prototype—it's a fully functional website ready to go live on the internet with a single click.
What Type of Projects is Framer Perfect For?
Before opening the tool, it’s important to understand where Framer truly shines:
Product Landings & SaaS Startups: Perfect for launching lead capture pages or software products that demand high visual impact, scroll animations, and ultra-fast loading speeds.
Interactive Portfolios: Ideal for creators and designers looking to showcase their work with dynamic layouts, filters, and custom micro-interactions.
Personal Brands & Creators: Enables you to build centralized, custom-designed websites with newsletter integrations and link hubs without relying on rigid templates.
Blogs & Content Sites (CMS): Thanks to its built-in CMS engine, you can manage articles, case studies, or directories in a clean and scalable way.
Corporate & Service Websites: Multi-page sites for agencies or freelancers looking to position their brand with a professional user experience (UX).
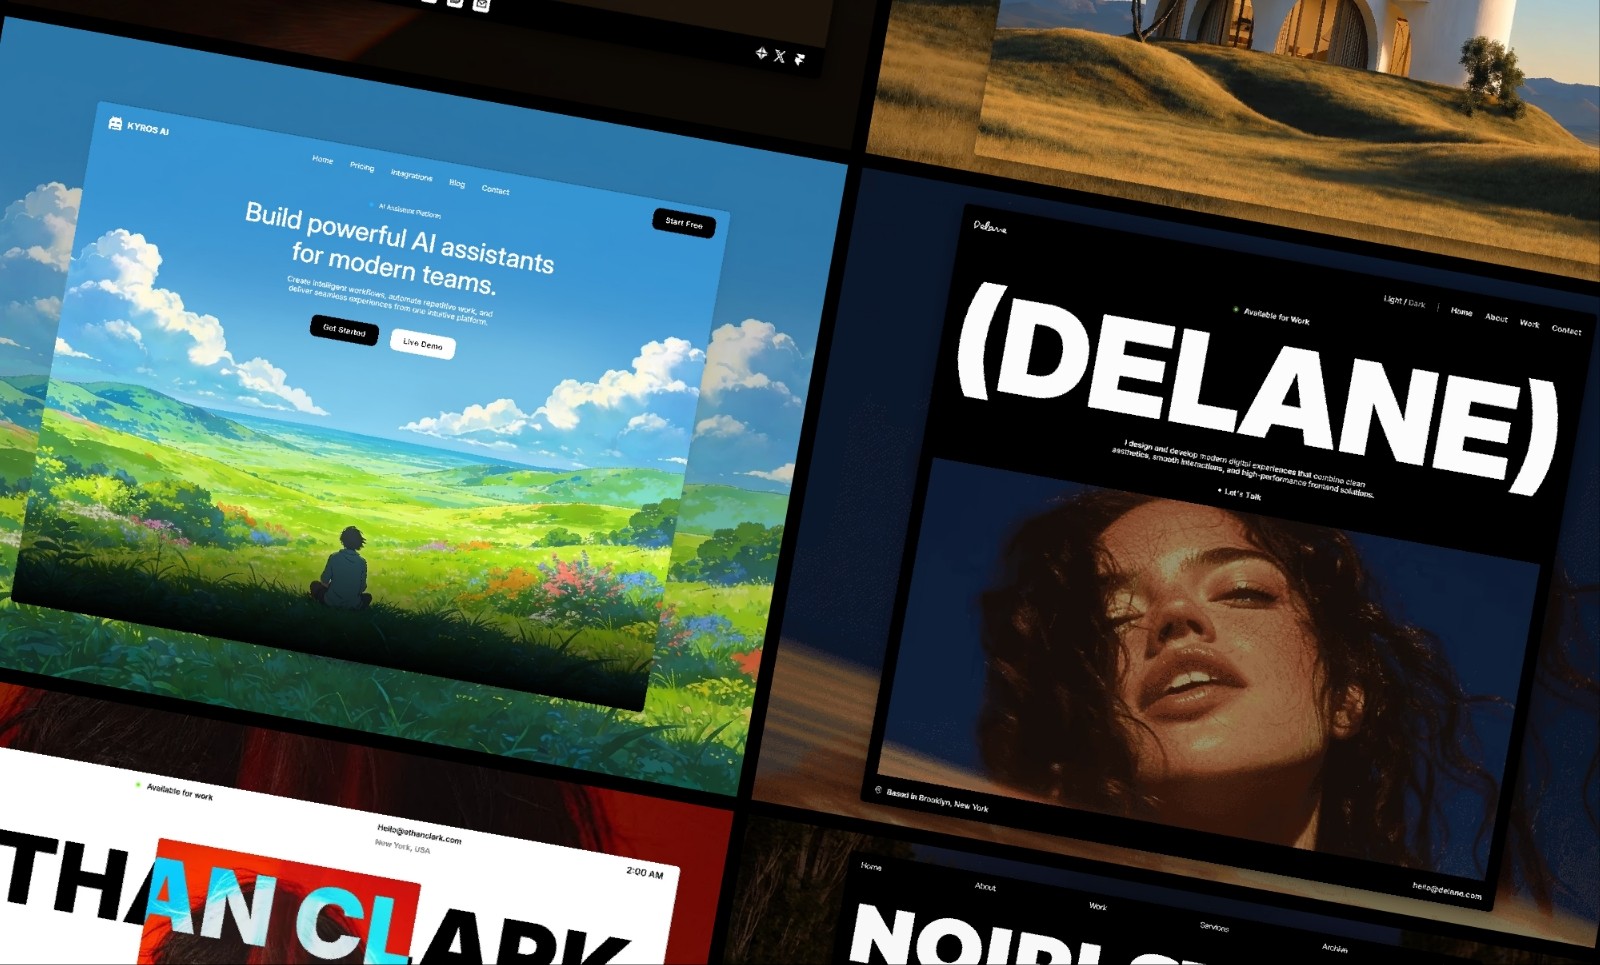
Create Your First Project in Framer in 1 Minute
To get the most out of this guide, open Framer and create a fresh file so you can identify the tools as you read along:
Access the platform: Go to framer.com and sign up for a free account.
Open your dashboard: On the main dashboard, click the New Project button.
Name your file: Double-click the default title in the top left corner and change it to the name of your project.
Stay on the canvas: You will see your first Desktop Breakpoint on a clean canvas.
Congratulations! Now you have your project created and you are ready to start exploring the canvas.
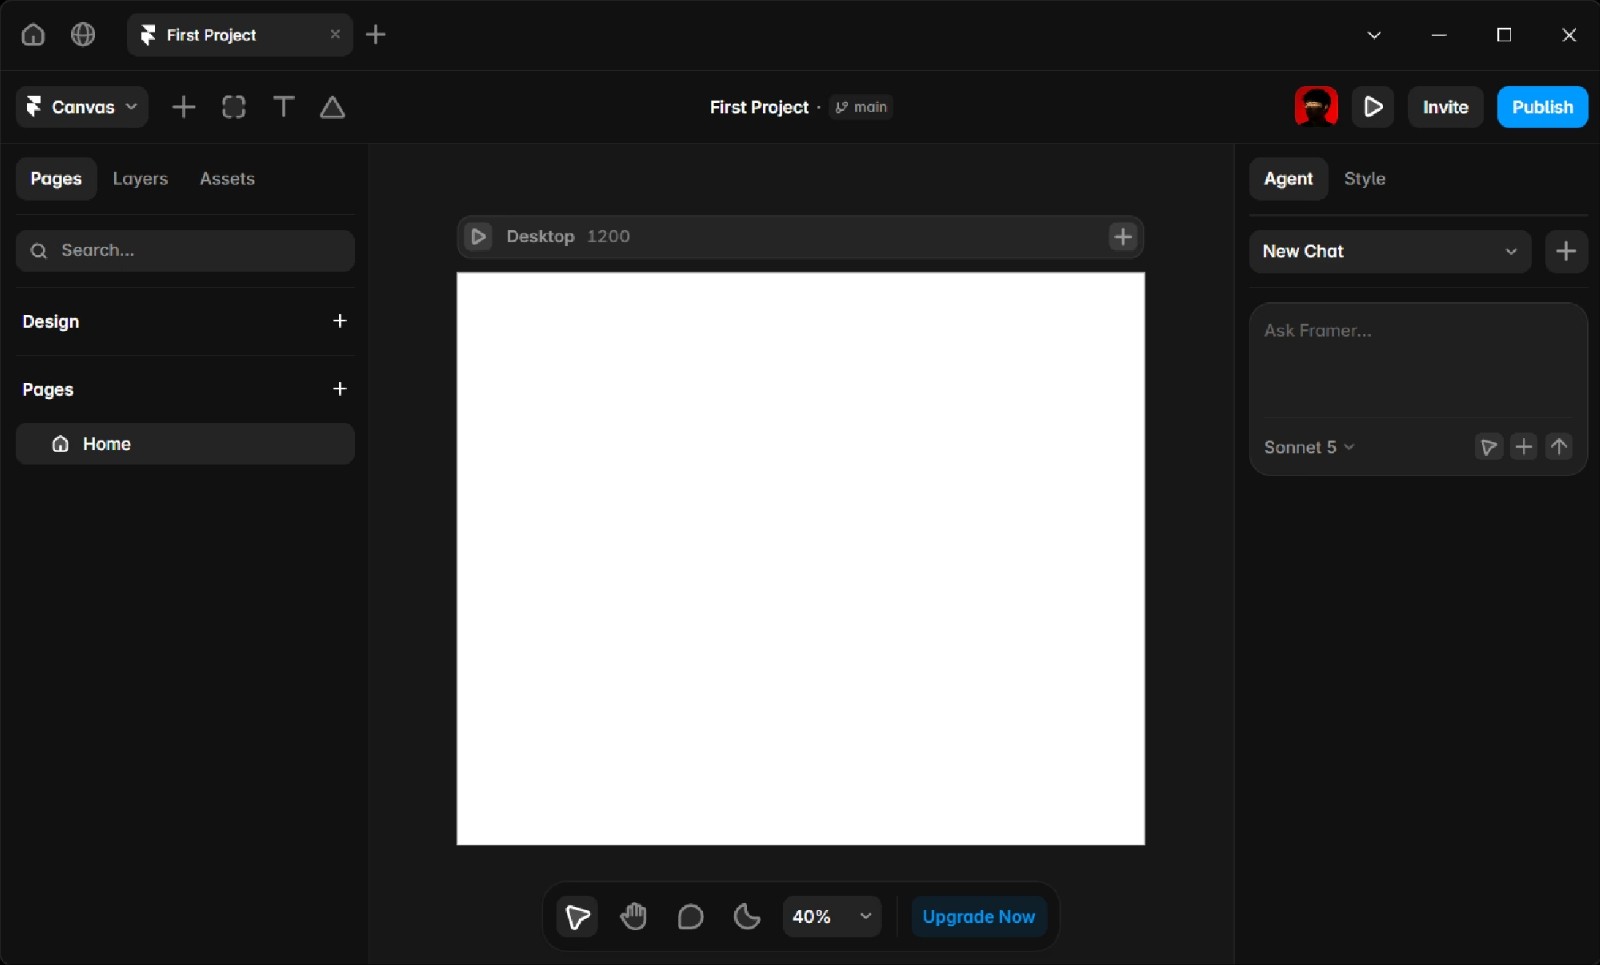
Exploring the Screen and Essential Tools
With your canvas open, the screen is divided into 4 key areas so you don't get overwhelmed:
1. Left Panel
This is your project tree where you manage visual and content organization:
Pages: Displays all pages on your website and includes the Design section to manage overall page structure.
Layers: Shows the exact hierarchy of all elements, Frames, Stacks, text, and images on the active page.
Assets: Where you access reusable components, templates, text styles and global colors.
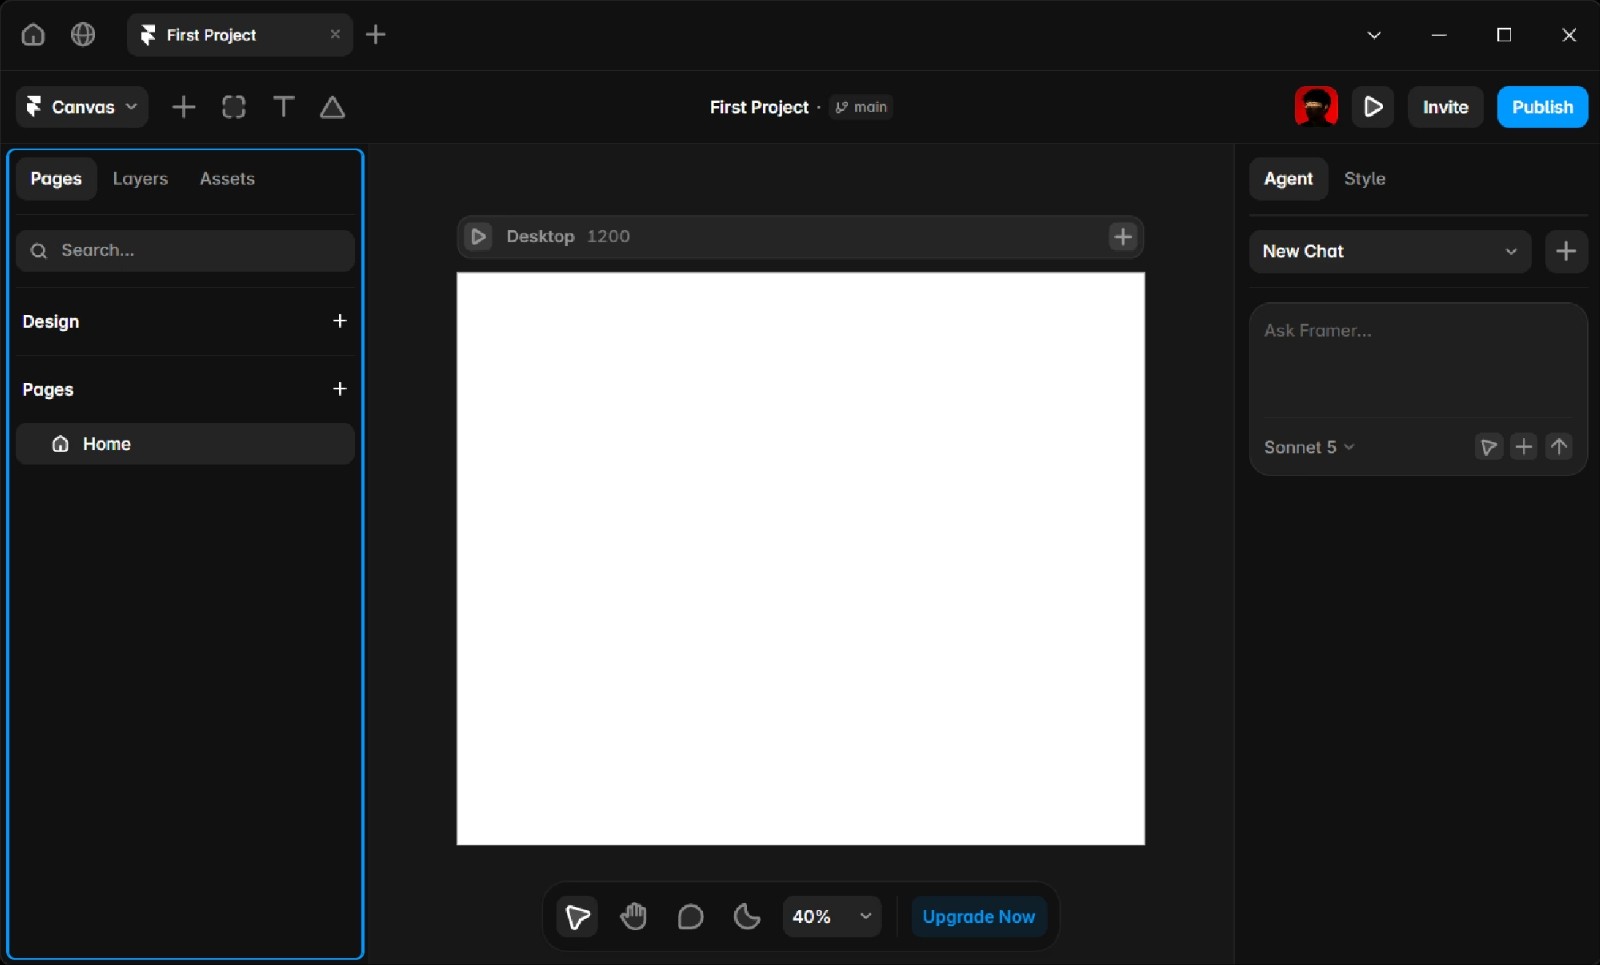
2. Top Bar
Your primary control center for building and previewing:
Canvas Menu: Clicking the Canvas dropdown opens overall project settings.
Creation Tools: Quick access to Insert (+), Layout, Text (T), and Vector path tools.
Project Controls: On the right side, you'll find your Profile, the Preview button to test your site, the Invite option for team collaboration, and the Publish button to deploy live.

3. The Central Area
Your visual, freeform workspace. Here, your different Breakpoints (Desktop, Tablet, and Mobile) live side-by-side so you can tweak responsive behavior in real time.
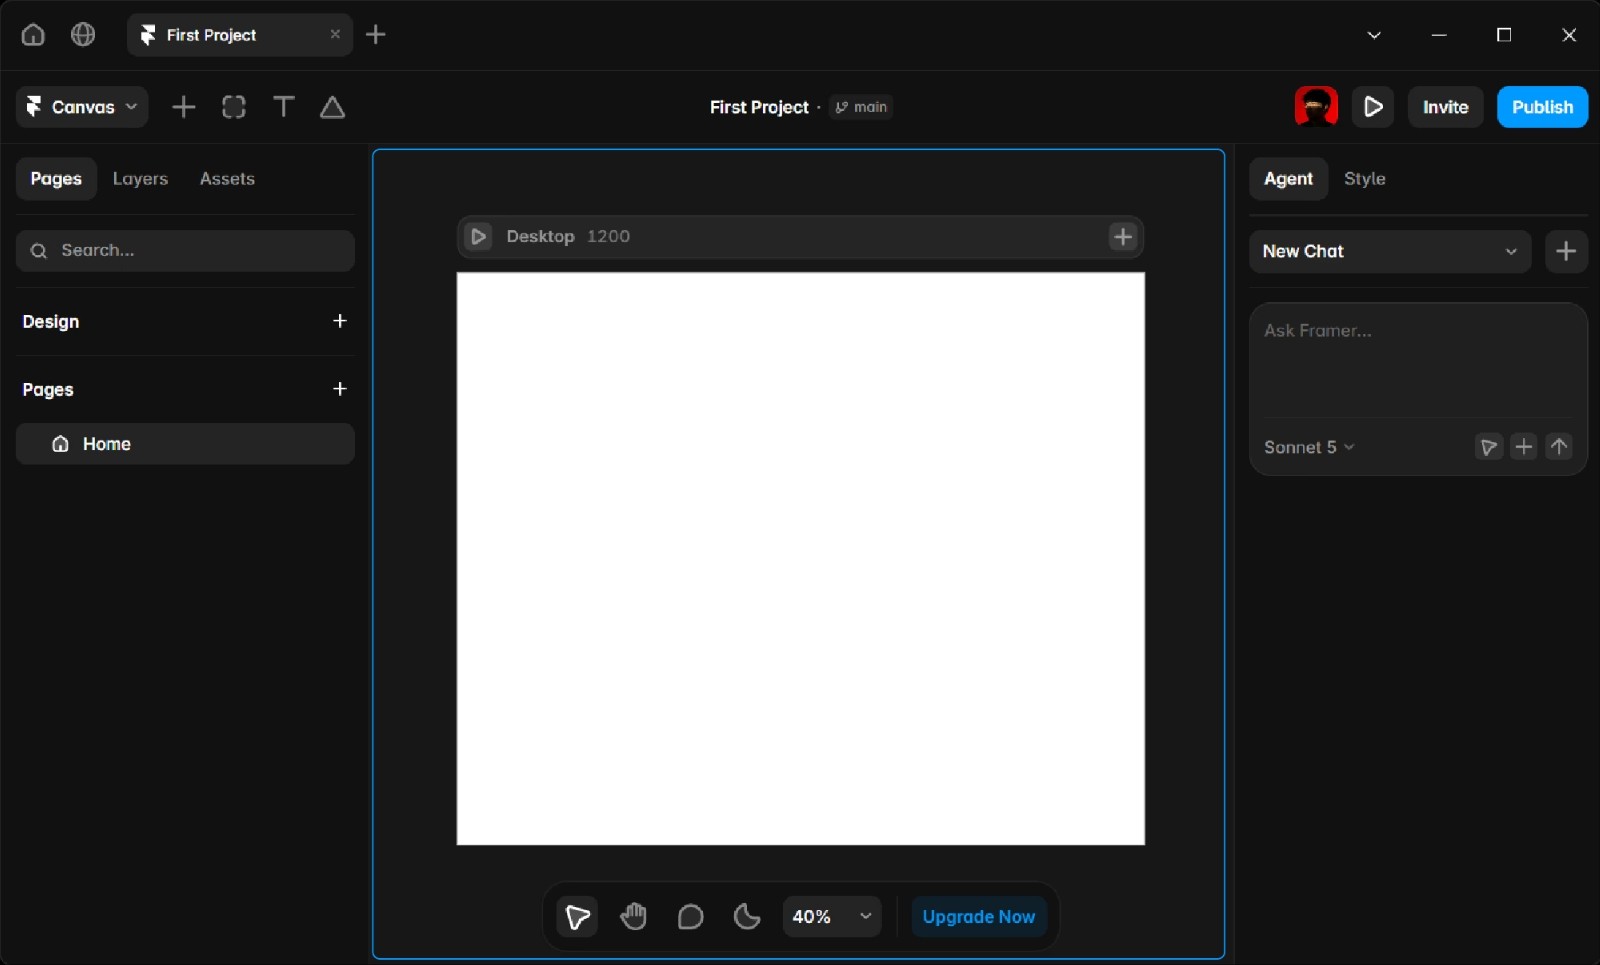
4. Right Panel
The side panel where you control smart features and visual design for any selected element:
Agent: The built-in feature to leverage AI and assistant tools directly within your workflow.
Style (Properties): Where you configure technical layout rules, sizing, background colors, borders, shadows, typography, and interaction effects.
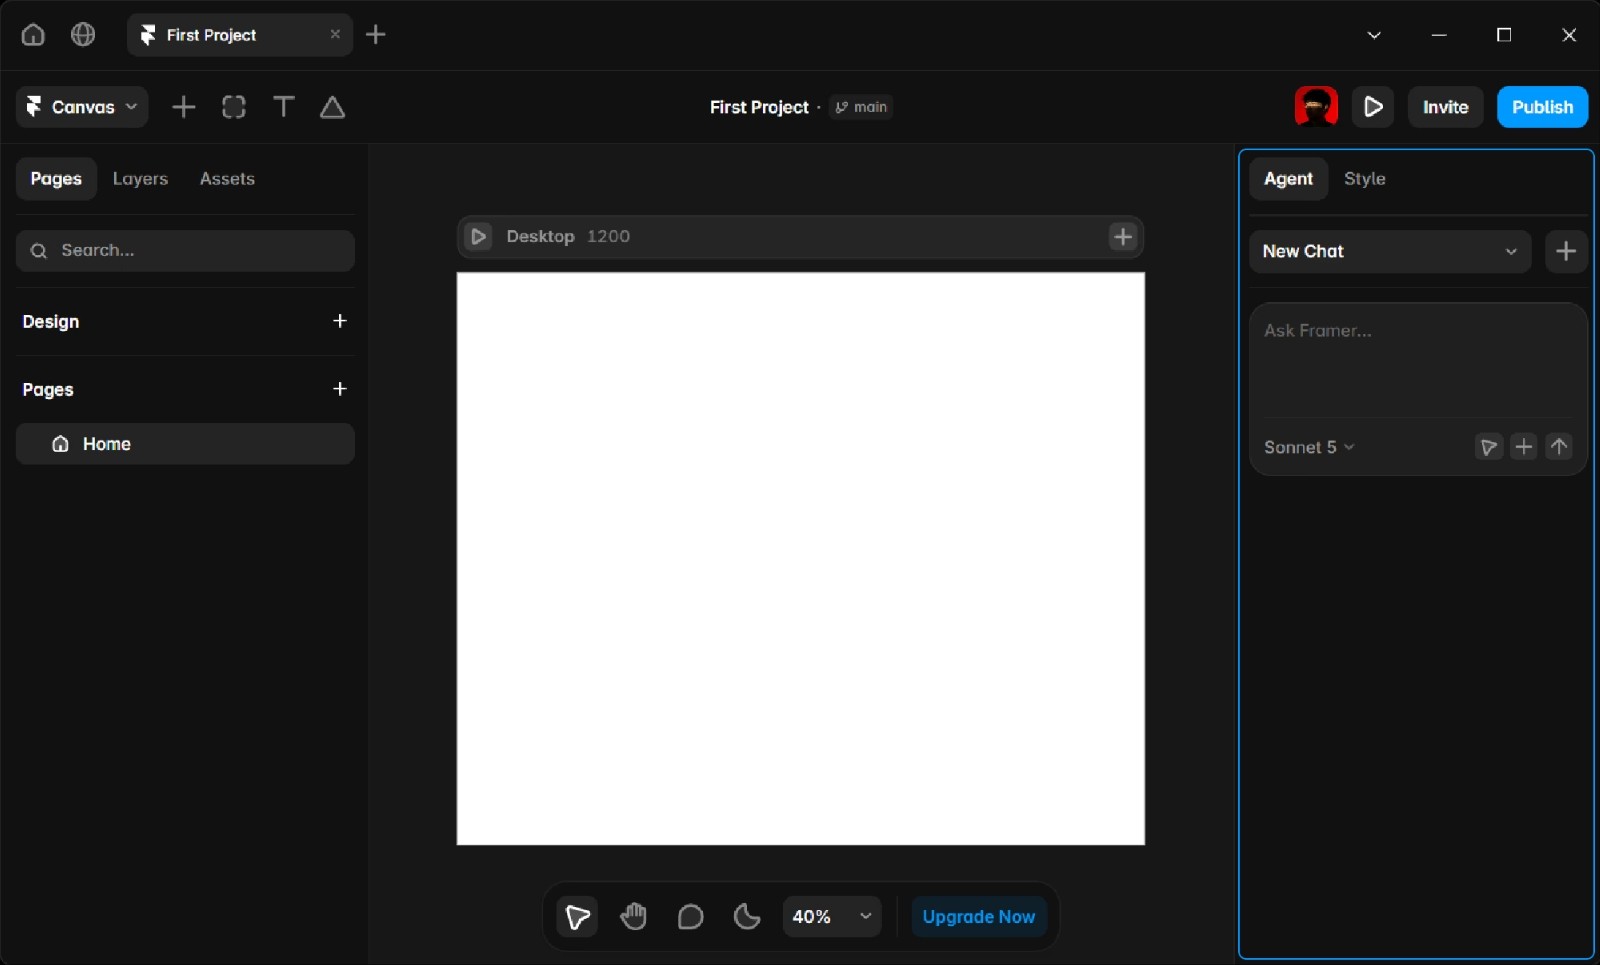
With the interface clear and your tools located, the canvas stops being intimidating. Now that you know where everything is, building visually becomes a much more intuitive process.
Core Concepts You Must Master in Framer
Now that you know your way around the screen, these are the four technical pillars you need to understand to build clean, professional layouts:
1. Stacks
Stacks are how you tell Framer to organize your elements automatically without breaking your layout:
Direction: You can lay out elements Vertically (one under another) or Horizontally (side by side).
Gap: The exact pixel distance between each element inside the Stack.
Padding: The inner breathing room between a container's border and its content.
2. Sizing
Controlling element sizing is what prevents your layout from breaking across different devices:
Fixed: You assign an exact pixel measurement (e.g., 400px).
Fill: The element stretches to occupy all available space within its parent container.
Fit (Fit Content): The container automatically shrinks or grows based on the size of the text or image inside it.
3. Breakpoints
In Framer, you don't design three separate websites for desktop, tablet, and mobile. You design on the primary screen (Desktop), and changes inherit downward:
The Desktop version is the primary master. Everything you build there automatically appears on smaller screens.
On Tablet and Mobile, you only make style and size adjustments (like reducing font sizes or switching a Stack from horizontal to vertical).
4. Components and Variants
If you plan to reuse an element across multiple pages (like a button or navigation bar), turn it into a Component:
It allows you to edit the design in one place and automatically update it site-wide.
You can create Variants inside the component to define interactive visual states (like Hover or Pressed states).
Mastering Stacks, Sizing, Breakpoints, and Components is the real game-changer. Once you get this logic down, you stop just "drawing pages" and start building clean, professional, production-ready websites.
The Real Step-by-Step Roadmap to Learn Framer
This is the roadmap I recommend you follow to master Framer from scratch, based on real-world practice without theoretical detours.
1. Master the Fundamentals with Free Resources
Don't jump in blind. Start by training your eye and understanding the tool's core logic through video content and official guides to get familiar with real workflows.
Framer Academy: Short, visual, and official lessons to grasp the basics of the interface and layout system.
Ryan Hayward: Great for learning advanced layout techniques, interactive components, and responsive tricks in Framer.
Yo Soy Acu (Spanish): One of the main Spanish-language references to learn Framer from absolute basics to a professional level.

2. Experiment Directly on the Canvas
Open a blank project and don't be afraid to test things out. The best way to memorize the UI is by building small test components on your own, tweaking sizes, changing typography, and creating interactive Stacks from scratch.
3. Join the Framer Community
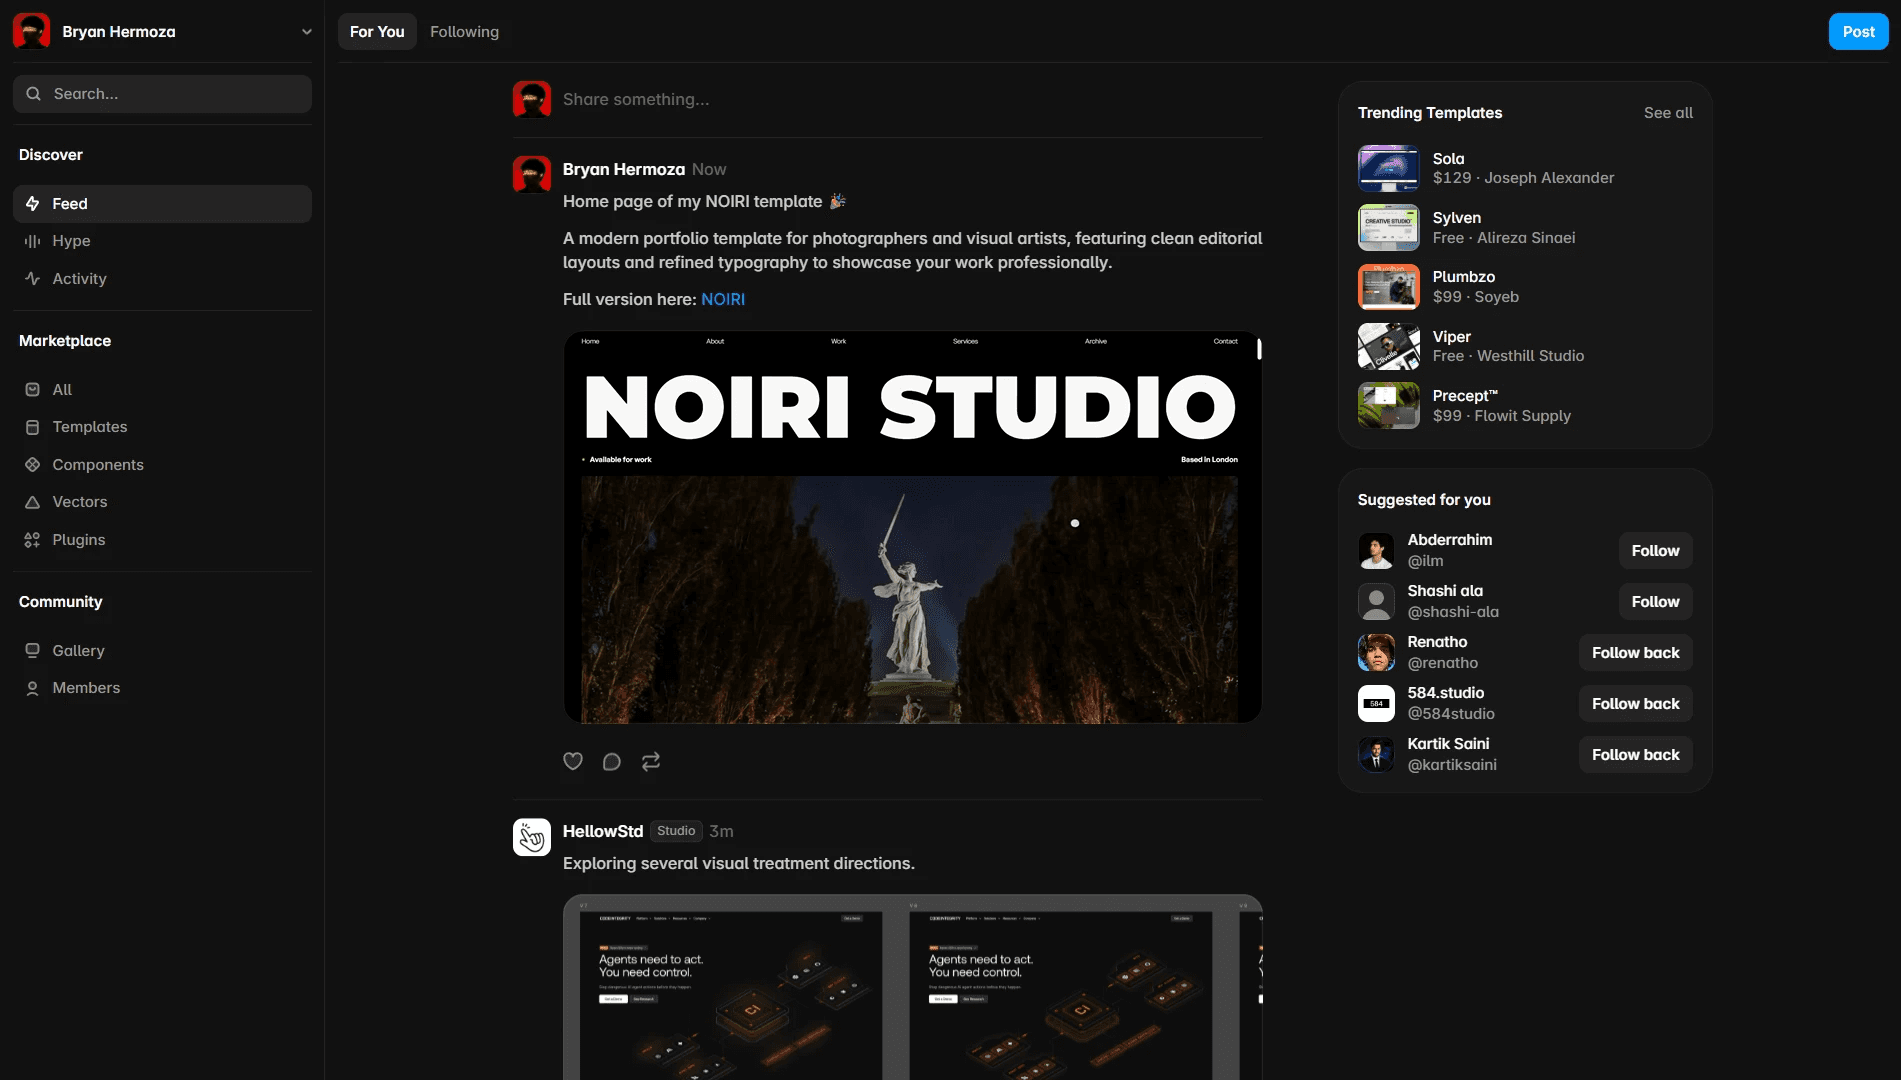
Your main hub should be the official Framer Community. Being active in this space will help you solve technical roadblocks regarding layouts, animations, or the CMS in minutes, while connecting with other designers and developers sharing tips and resources.
4. Replicate Real Websites You Love
Find websites you admire and try cloning one or two sections from scratch in Framer. This forces you to solve real layout challenges on live screens and understand how professionals structure their work.
Dribbble: The largest global network to explore UI trends, modern components, and visual micro-interactions.
Awwwards: The global benchmark platform showcasing the world's most innovative and awarded interactive websites.
One Page Love: The premier showcase for single-page websites, perfect for structuring portfolios or single-product pages.
5. Build Your Own Projects and Ask for Feedback
After cloning a few layouts, design your own landing page or portfolio. Share your work with the community to get constructive feedback.
Take the Next Step in Your Framer Journey
Learning Framer opens the door to creating web projects with complete design freedom, speed, and professional quality without relying on complex code. The key is to move past theory: open the canvas, experiment with components, fail fast, and build real sites.
If you want to speed up your learning and get a closer look at how a professional site is built under the hood, feel free to check out my Framer templates. They work as a great visual reference to understand the real workflow and apply those same ideas to your own projects.
Put theory into practice!
Check out our Framer templates to see how a real site is built under the hood and get inspired for your projects.
More articles
Explore more articles
Explore more articles, tips, and resources to help you get the most out of Framer.

